AI Video Editor: Restyle an Existing Clip with a Prompt
Use an AI video editor to change the setting, weather, lighting, effects, or visual style of an existing short clip while specifying what must stay unchanged.
How-to By Pipe2.ai Updated September 29, 2026
On this page
Try these pipelines
An AI video editor can transform the look of an existing short clip from a plain-language instruction. Upload a source video, describe one visual change, state what must remain unchanged, then inspect the regenerated result. Pipe2.ai’s Video Editor is designed for scene and style changes—not for cutting a timeline or assembling several clips.
What this kind of AI video editor changes
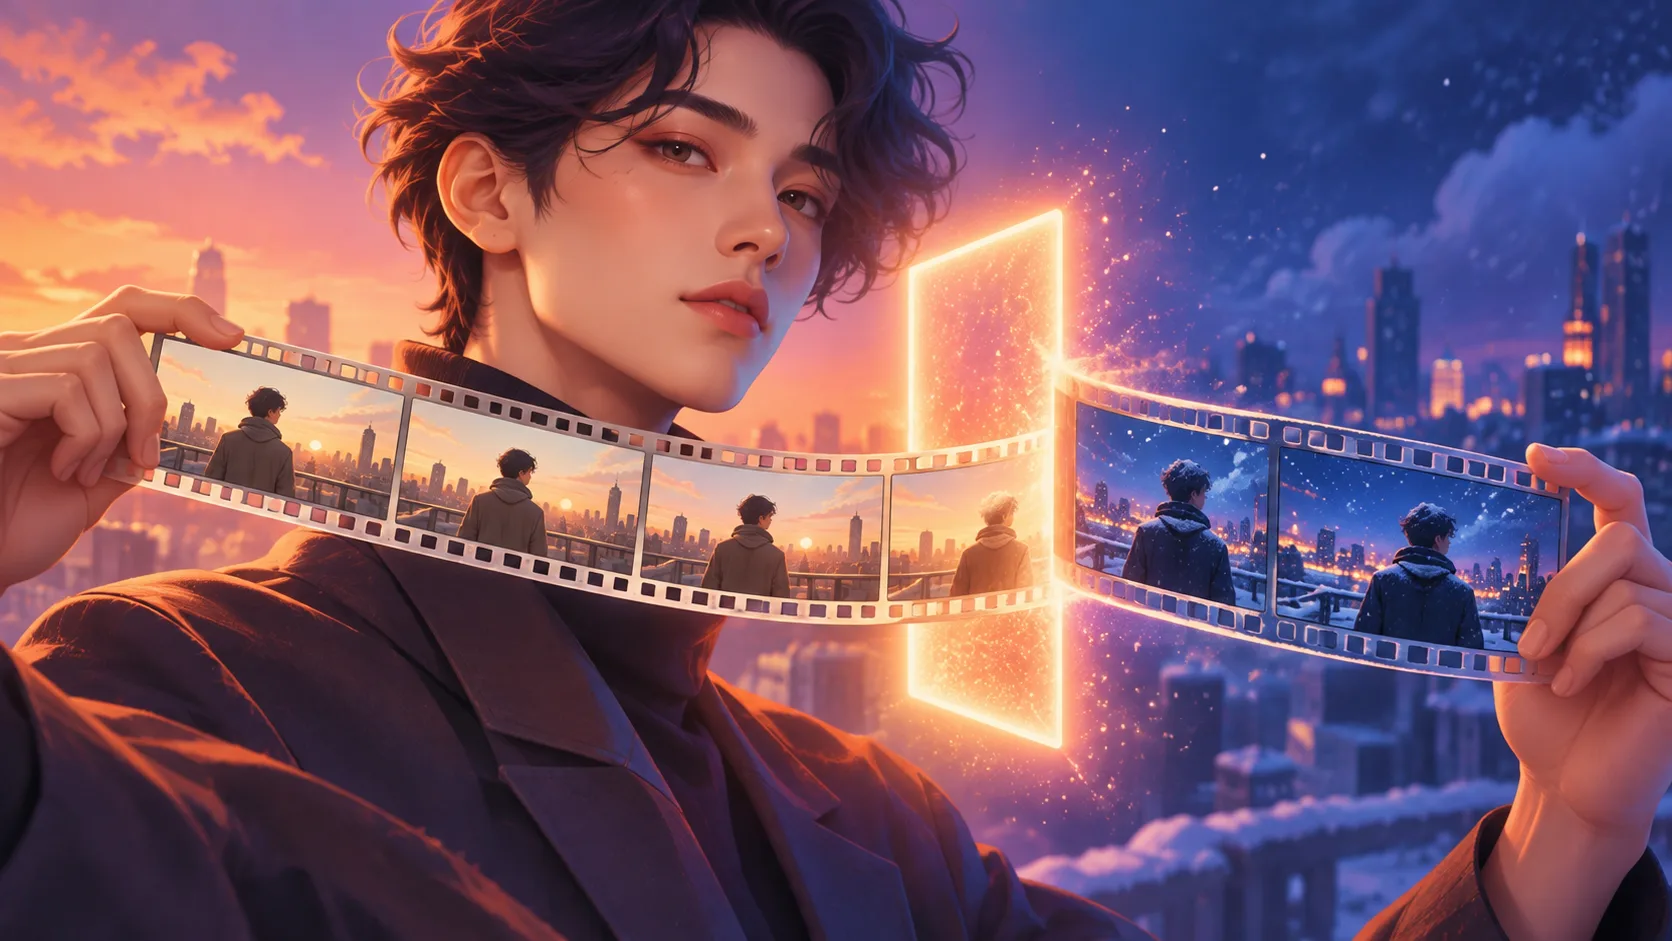
Generative video editing is useful when the requested result needs new visual content. It can turn daylight into a snowy night, change the atmosphere and color treatment, add weather or cinematic effects, replace parts of an environment, or restyle an entire shot.
The output is a newly generated video, not a pixel-locked adjustment to the original file. The editor aims to follow the source motion and your preservation instructions, but it can reinterpret a face, hand, garment, product edge, logo, sign, reflection, background object, or camera move. Treat the first result as a version to review, not as a guaranteed exact edit.
This also defines what the tool is not. It does not choose time ranges, join several clips, burn subtitles, or provide a conventional multitrack timeline. If the job is to find and cut a moment, use the workflow in the AI video clipper guide. If the clips are already selected and need assembly, use an AI reel maker.
Edit an existing video in five steps
- Choose one short shot. Start with a clear source clip no longer than 10 seconds. A single continuous shot is easier to transform consistently than footage with several cuts.
- Upload the source. Open Video Editor and add the clip under Video to Edit.
- Write one focused instruction. Name the target change, describe the desired result, and list the important elements that must remain stable.
- Add references only when they have a job. Optional reference images can guide a subject or style with compatible models. Assign each image a clear role instead of adding unrelated inspiration.
- Generate and compare. Watch the source and output from beginning to end, then inspect individual frames around fast motion, occlusion, scene edges, and the requested change.
The pipeline returns a video asset. Keep the original clip and save accepted versions separately so you can compare them or restart from a clean source when an iteration drifts.
Write an instruction with change and preservation rules
A useful video-editing instruction has three parts: target, transformation, preserve.
Change the rooftop scene from warm daylight to a snowy blue hour. Add falling snow, cold ambient light, and subtle reflections on the wet ground. Preserve the person’s identity, clothing, position, movement, camera angle, camera motion, shot length, and composition.
“Make it cinematic” gives the model too many decisions. It may alter the palette, lighting, lens feel, motion, setting, and subject at once. Observable directions—soft snowfall, cool dusk light, low contrast, stable handheld motion—are easier to evaluate than broad mood words.
Name the subject through visible details, especially when similar people or objects share the frame. For a localized change, say where it should happen and how it should interact with motion, light, reflections, and shadows. For a full restyle, identify the visual traits you want while still listing the continuity that matters.
Preservation language reduces ambiguity; it does not lock the pixels. If exact identity, readable legal text, a product label, or frame-perfect geometry is mandatory, plan a stricter review and expect that a conventional compositing workflow may be more appropriate.
Prepare a source clip that is easier to transform
Use the cleanest available export rather than a screen recording or a clip that has been compressed repeatedly. Keep the intended subject visible, avoid unnecessary cuts, and choose a shot whose action can be understood without missing context.
Complex motion creates more opportunities for drift. Fast hands, faces turning away, objects passing in front of one another, fine patterns, reflections, and tiny lettering all deserve extra attention. A shorter source centered on one action usually gives you a clearer edit to judge.
Decide whether you want a targeted change or a whole-scene transformation before writing the prompt. Combining a new environment, new wardrobe, new weather, new camera move, and new visual style in one run makes it difficult to know which instruction caused a problem.
Review the complete regenerated video
Watch once at normal speed for the overall result. Does the requested change appear throughout the shot? Does the action still make sense? Did the editor introduce an unwanted cut, speed change, camera move, or framing shift?
Then review slowly. Check the subject at the beginning, middle, and end; pause where hands cross the body, the face turns, or an object becomes partially hidden. Look for flicker, texture crawling, warped edges, disappearing accessories, inconsistent shadows, changing signs, and backgrounds that move independently of the camera.
Listen to the result as well. A visual edit can return a video with audio behavior that differs by model, so verify that any sound you need is present, synchronized, and appropriate before the asset moves into a larger edit.
Iterate by changing one variable
When the scene transformation works but the subject drifts, keep the source and desired look stable and strengthen only the preservation clause. When the subject is stable but the weather looks artificial, revise only the description of snow, light, ground contact, and atmosphere.
Avoid stacking corrections on a flawed generated version. Returning to the original clip prevents one mistake from becoming part of the next input. Change one variable per run, compare versions side by side, and use the current estimate shown before running instead of assuming an old cost still applies.
Know when to use a different video tool
Use a conventional editor when you need exact cuts, keyframes, masks, typography, audio levels, transitions, or deterministic color values. Use a clipper when you need to locate or remove a time range. Use a reel editor when several source clips need sequencing and audio assembly.
Use generative video editing when the pixels themselves must be reimagined: weather, setting, mood, materials, effects, or the visual style of an existing shot. Keeping that scope clear makes the prompt more precise and the result easier to approve.
Frequently asked questions
What does an AI video editor change?
A generative AI video editor takes an existing clip and a written instruction, then creates a new video with the requested visual change. It can restyle a scene, change weather or lighting, add an effect, or alter an environment, but it may also regenerate details you wanted to preserve.
Can an AI video editor preserve the subject exactly?
Not reliably. Clear preservation instructions reduce ambiguity, but faces, hands, clothing, products, logos, text, camera motion, and background details can still drift. Compare the complete result with the source before publishing it.
Is generative video editing the same as trimming or timeline editing?
No. Generative editing changes the visual content of a clip. Use a trimming tool to select or remove time ranges, and use a reel or timeline editor to arrange several clips, mix audio, and control cuts.
How long can the source video be in Pipe2.ai Video Editor?
The Video Editor accepts a source clip up to 10 seconds long. For a longer recording, first isolate the short shot you want to transform, then submit that clip with one focused edit instruction.